
I’ve been masking RC fashions for about 35 years. I picked up on MonoKote again within the mid-’80s and tried it for the primary time. It took a little bit of studying curve however I obtained the hold of it. Over time I refined my method to incorporate fixing errors I made at first and stored enhancing issues as much as the current day. A few years in the past I attempted SolarTex and LOVED utilizing it. I thought-about it my favourite masking of all. However sadly, just a few years in the past SolarTex determined to hold it up and closed their store. This left a BIG void in one of the best iron-on masking on the market till OraTex got here out with a really appropriate alternative. They don’t have as many “flavors” as SolarTex did, however hopefully they are going to proceed to broaden their line with extra colours.
I’ve seen plenty of masking jobs on the subject and a few are good and a few not. As all the time, there are often just a few good builders who do nice masking work. However as a rule, I discover most ARF’ers merely don’t “get it!” One downside appears to be that these doing the masking need to get in an enormous hurry to complete and their works present it. Overlaying correctly takes TIME and many it. One can not rush through this job. I’ll try to point out how I do the iron-on masking job with OraTex Orange on a few items of the High Flite Hellcat Prepared-To-Cowl mannequin. My last coloration scheme is a post-WW II drone. Some say that the Orange depicted in some drone photographs from that period are incorrect and the true coloration of the drones was Purple. However there have been clearly some variations on the Hellcats which may additionally embody just a few Orange “Cats” as properly. However that’s actually inappropriate right here.
As regular, my articles are primarily written for the newer RC pilots and builders. I notice many phrases have been spent on this topic, however like Western, Battle, and Sci Fi motion pictures that hold getting made and remade, there’s all the time a brand new viewers coming into view.
I might additionally add that having a slightly LARGE provide of #11 blades is a good thought. I purchase them by the 1,000 blade unit to verify I don’t run out. It solely takes just a few cuts to uninteresting a blade. So don’t make your self work tougher over the price of just a few blades. You’re employed will seem MUCH SHARPER when altering blades out after just a few cuts. It sounds wasteful however it’s essential.
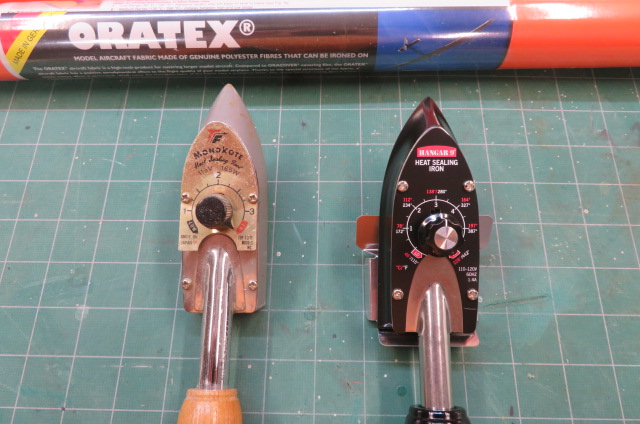
Very first thing to have for any masking job is an efficient masking iron that may be adjusted from low to excessive warmth settings. OraTex tends to love decrease warmth settings so I had to purchase a brand new iron to switch the one I’ve had 35 years and solely provides HIGH warmth!
Determine 1. Outdated and new irons. Outdated TF MonoKote iron on the left and new Hangar 9 iron on the proper. I actually like the brand new iron! Notice the warmth setting about halfway on the dimensions. Good place to start out for OraTex.
After getting the iron set and whereas ready for it to heat-up, it’s possible you’ll start reducing you masking materials. On this article I’m masking the horizontal tails and elevators, after which the middle wing part.
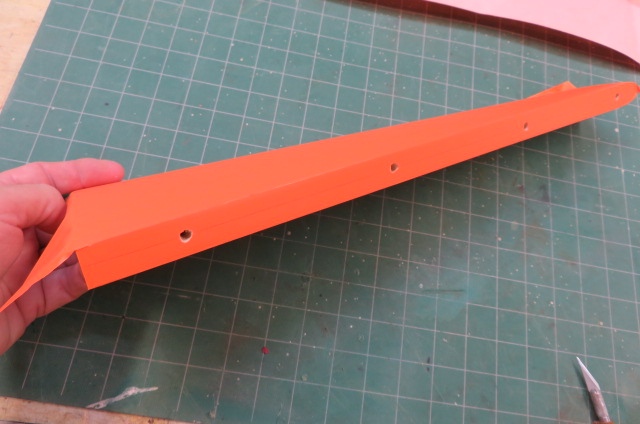
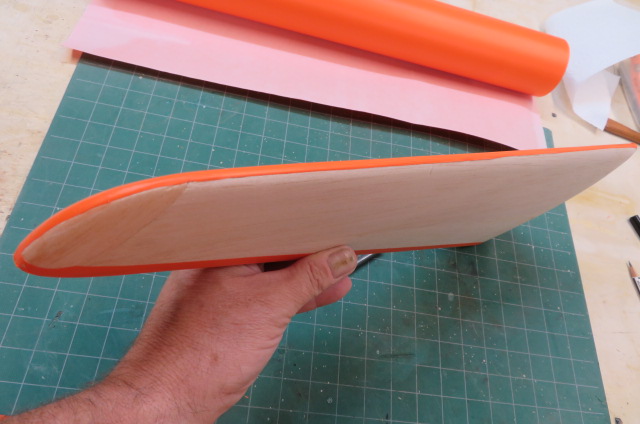
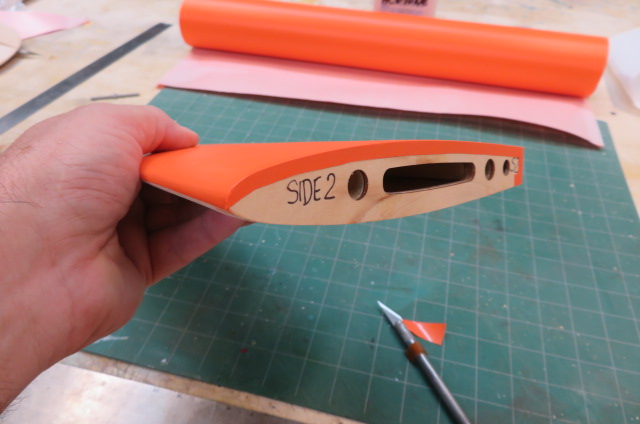
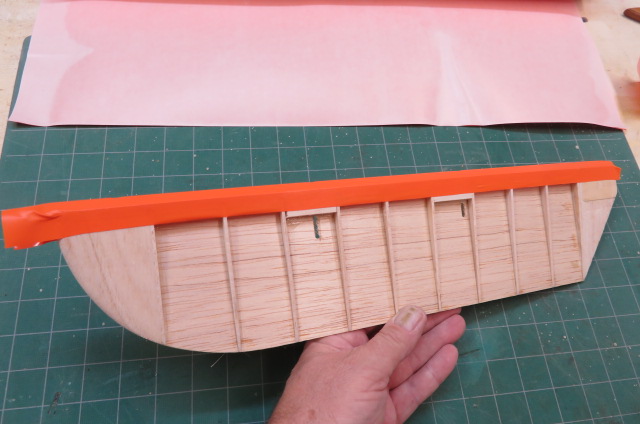
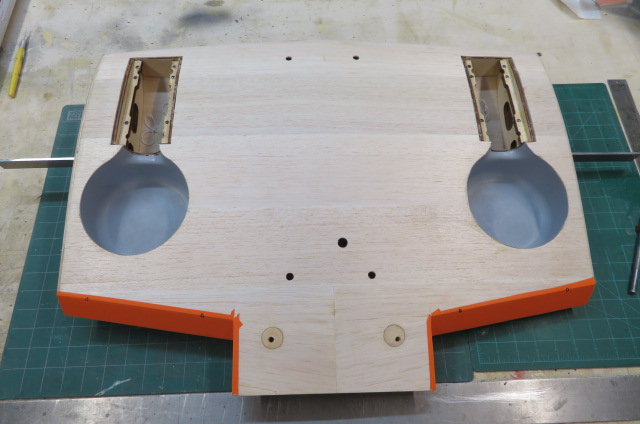
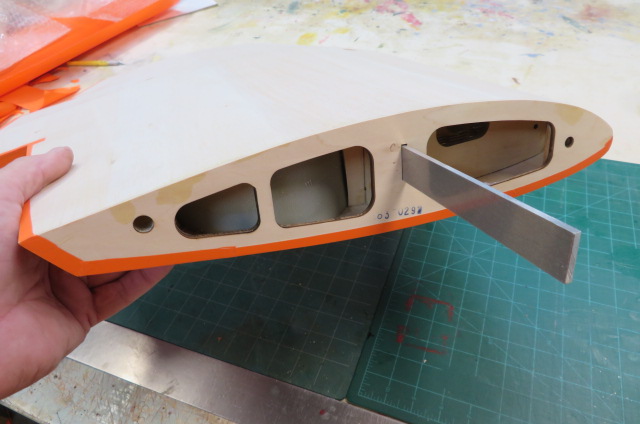
Determine 2. Horizontal tail and elevator of the Hellcat. That is the Prepared-to-Cowl instance which is nice for many who need one thing totally different from the group! Workmanship on these is very nice. They arrive able to hinge with Robart pin hinges.

Determine 3. Step one is to cowl the trailing edge to incorporate and overlap on each the higher and decrease surfaces. This overlap is essential so as to add because it retains the masking from pulling off the balsa if the masking is just ironed on the balsa with butt joints. You will note how the overlap comes into play in a bit. Step one is to iron the masking to the trailing edge.
Determine 4. A pleasant 1/4 inch overlap is usually recommended. Too little overlap and also you gained’t get the stable attachment to the masking on the higher and decrease surfaces. You must calculate the full width of the strip to incorporate the overlap and lower it on the work desk FIRST after which iron it on the piece. That approach, there’s little or no extra reducing to be finished and most essential, you gained’t be reducing into the balsa to trim the overlap.
Determine 5. Take the iron and press down on the overlap all the way in which across the floor. Ensure that to not permit any wrinkles while you do that. When you get a wrinkle they’re laborious to erase!
Determine 6. When you get the Trailing Edge (TE) and overlap ironed on it’s possible you’ll lower materials for the higher or decrease floor. With a small overlap on the TE, iron the higher or decrease masking on the TE ONLY and VERY CAREFULLY. The purpose right here is to get the masking firmly glued on the TE and to not shrink the remainder of the masking. Then lay the iron FLAT on the floor, however multi functional movement, sweep throughout the floor firmly. Keep in mind that the iron is sizzling and when you depart it idle it’ll start to shrink the masking in an unpleasant method. KEEP the iron MOVING. This may glue the masking all the way down to the balsa itself slightly than simply tacking the perimeters of the piece and shrinking the highest which isn’t a very sturdy masking method. Do that sweeping movement all throughout the floor working towards the Main Edge (LE). It should take a number of quick passes to do the entire floor.
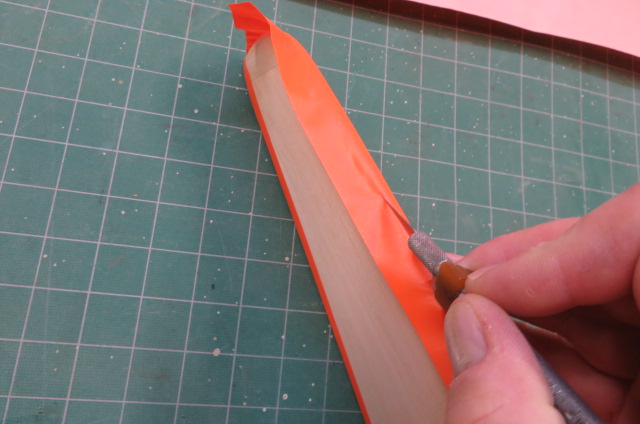
Determine 7. On the TE, take your #11 blade and punctiliously slide it down the TE and lower away any extra high floor materials. However don’t let the blade dig into the TE masking. It’s a good suggestion to do that with a brand new blade. With the overlap you created on the primary TE masking, you now have a really sturdy bond between the 2 surfaces. Overlaying-to-covering bonding is significantly better than simply covering-to-balsa because the balsa is comparatively porous. Now, to not exclude ironing on the balsa as defined on the earlier step, as that could be a totally different state of affairs the place you don’t have any masking to overlap.
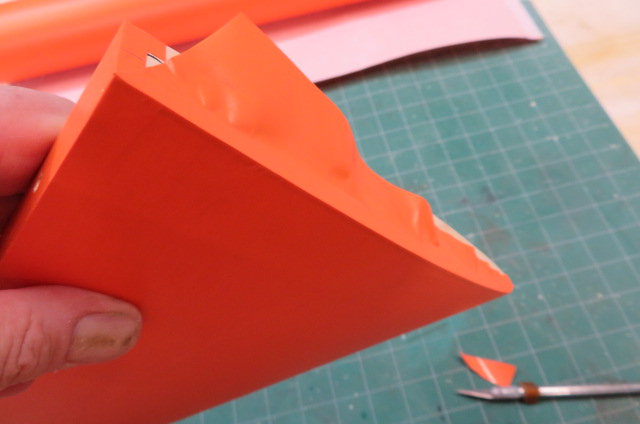
Determine 8. After ironing the masking down throughout the floor and across the LE, take the #11 blade and really flippantly lower the masking simply to 1 aspect of the height so you’ll have a small overlap. However DO NOT lower with a lot stress! You could be weakening the construction by doing so! It’s not so essential right here, however on different areas of the masking job, it could be EXTREMELY damaging to construction.
Determine 9. The lower is made and the masking gently pulled off the floor.
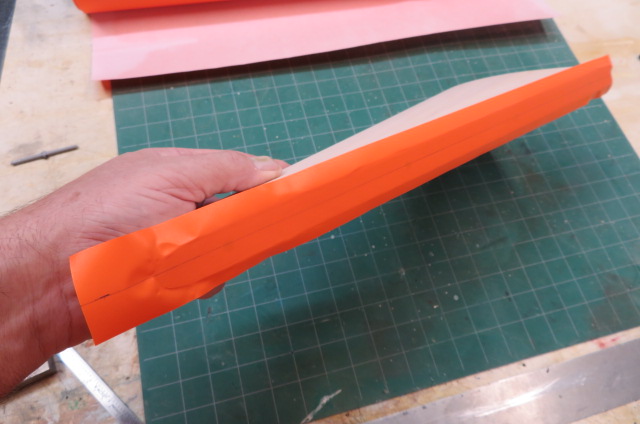
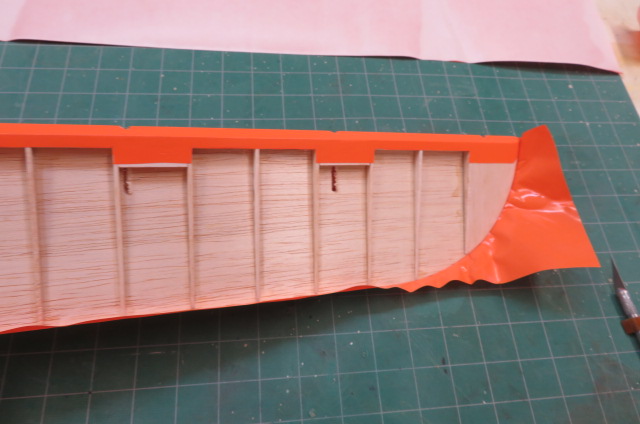
Determine 10. The final half to trim is the rounded outboard edge. However first make sure you iron the masking PAST the centerline to the opposite aspect and THEN end the trim lower.
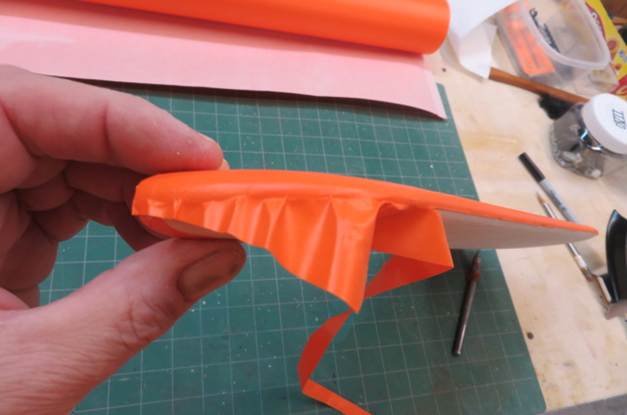
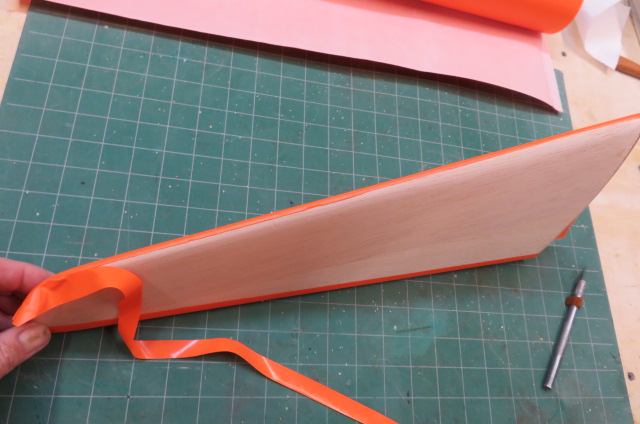
Determine 11. Each Main and Trailing edges trimmed of extra masking. These cuts shouldn’t have to be picture-perfect as we nonetheless have extra to do.
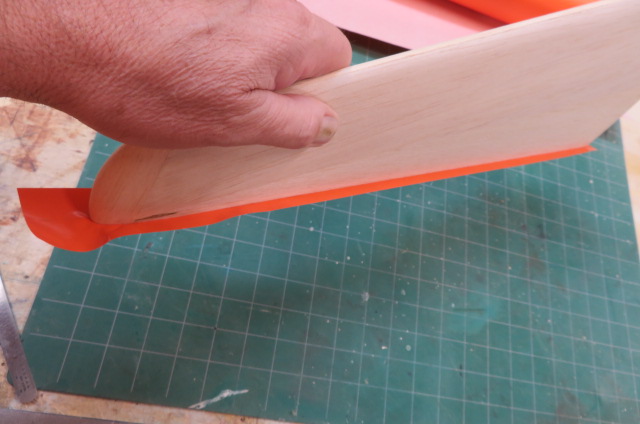
Determine 12. Final trim lower on this floor is the inboard edge. First, iron the masking over the sting about 1/4 inch or so.
Determine 13. After which trim the masking in a neat overlap. You don’t need to totally cowl this edge as it’s typically epoxied to the fuselage right here. So, by no means use epoxy over 100% masking – recipe to catastrophe!
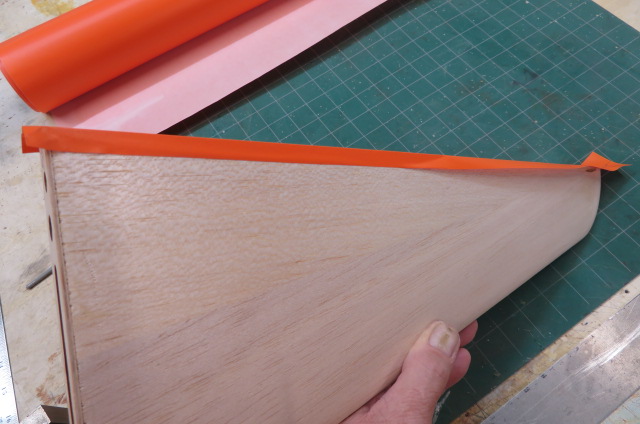
Determine 14. One aspect finished and one aspect to go!
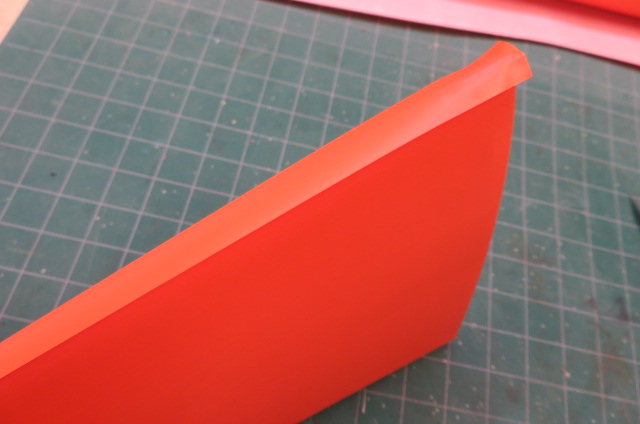
Determine 15. With the alternative aspect coated like the primary aspect and trimmed, you may (simply barely) see how the 2 coverings meet on the LE and mix collectively properly! However we’re not finished but!
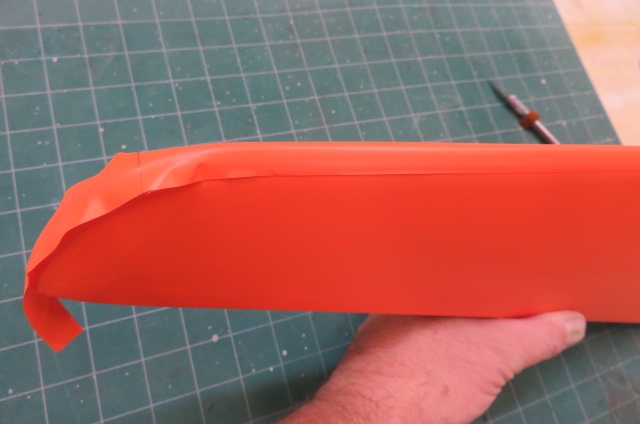
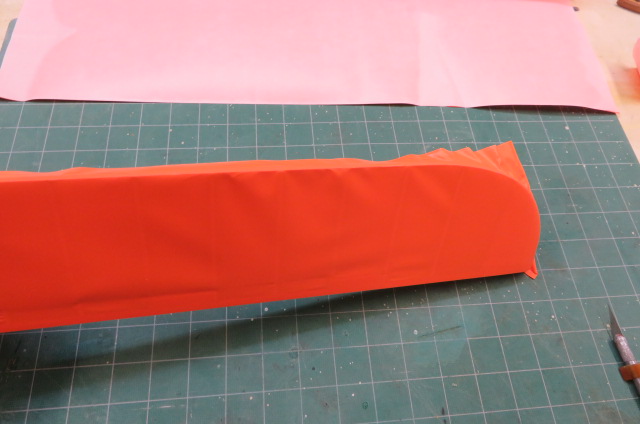
Determine 16. To maintain the 2 floor coverings from pulling aside within the warmth of the day on the subject, I add one other “overlap” of about 3/4 inch materials to maintain the 2 surfaces locked tight. Begin on the inboard edge and glue it down.
Determine 17. Ensuring you’ve gotten the overlap even on either side, proceed down the LE with the iron. The place the curved edge begins, watch out and slowly work the masking across the curve. Small wrinkles shall be smoothed out with the iron and gained’t present. I typically taper the final couple of inches of any curve with a small scissors to maintain the massive wrinkles from forming.
Determine 18. Closing overlap is nearly invisible when you work slowly to maintain wrinkles out of there. Final trim is on the inboard edge. This last overlap additionally protects the LE from any gasoline that will get leaked out of the engine or gasoline tank. As soon as your masking will get gasoline or glow gasoline between it and the balsa, it’ll begin to peel aside.
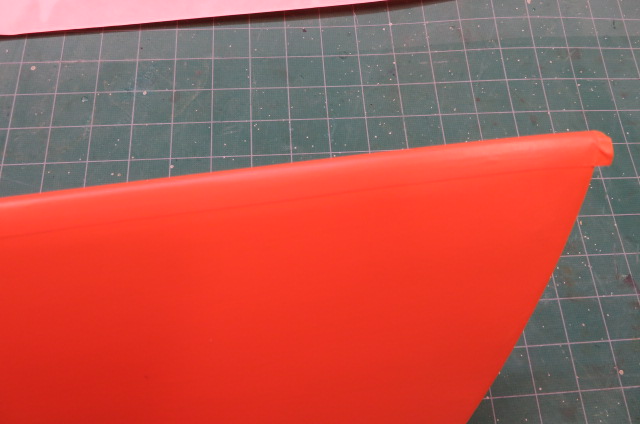
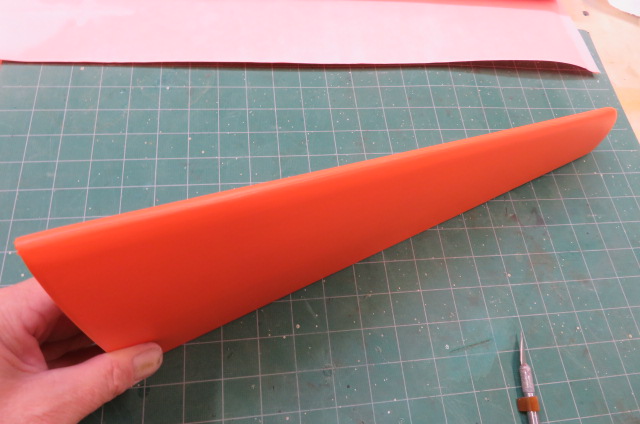
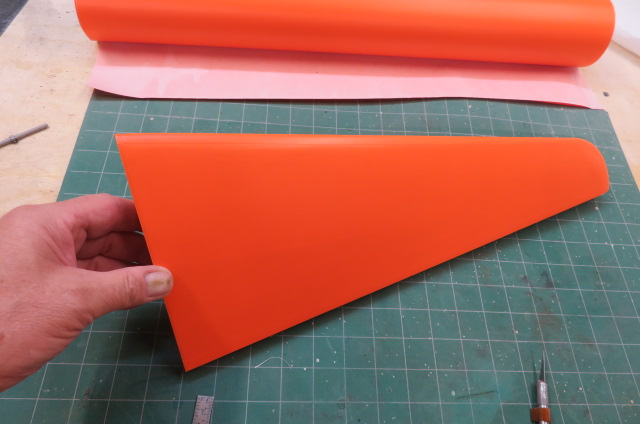
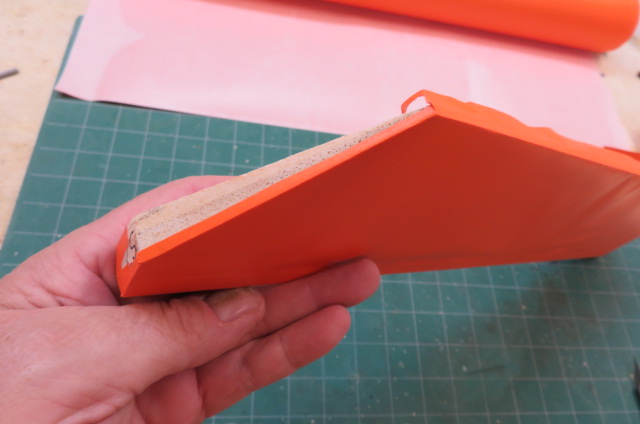
Determine 19. One horizontal tail is completed. Nearly seems to be prefer it’s painted when you work fastidiously.
Determine 20. Now comes the elevator masking. The elevator is finished barely totally different from the stab. First step is to cowl the LE with a big overlap!
Determine 21. Lower and add the highest or backside masking to the LE first after which pull it tight and tack it over the TE. You don’t need it guitar-string tight right here, however attempt to hold the fabric cosy as you may with out warping the elevator. After getting it tacked to the TE, run the iron on high of the TE to safe it tight. Proceed across the curved finish of the elevator, pulling the masking cosy as you go. DO NOT SHRINK the masking presently! Wait until you’ve gotten either side coated and THEN shrink it fastidiously. You possibly can nonetheless warp the piece by an excessive amount of shrinking.
Determine 22. Again aspect of the elevator after masking one aspect.
Determine 23. Iron the fabric over the inboard finish after which trim as proven.
Determine 24. As with the horizontal stab, trim the surplus off the elevator with a brand new blade. Elevator must be as proven at this level. Notice that the masking has not been shrunken. Proceed to cowl and trim the alternative aspect and THEN it’s possible you’ll shrink the masking on either side. However, don’t go loopy with the iron! Only a fast go or two on either side at first. Then permit to chill a minute and see if it has any sags. Contact it up as wanted with the iron. And I ought to have talked about on the first, use the iron for the entire masking course of, not a warmth gun. Warmth weapons can burn through the coverings earlier than you recognize it!

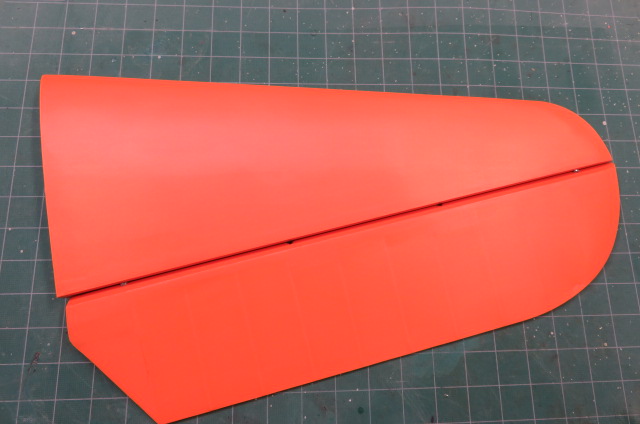
Determine 25. When you’ve gotten each elements coated it ought to look “clear” just like the elements within the picture.
Determine 26. After which do the identical factor on the opposite horizontal tail!
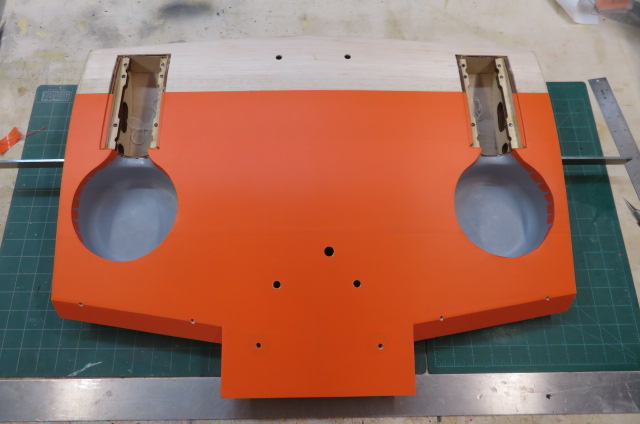
Determine 27. Right here we’ve the middle wing part. Massive elements are finished considerably the identical however with bigger strips of masking. However there’s a restrict to how large every strip must be as too giant a chunk will be laborious to deal with with out ruining it. First, cowl the cutouts for the flaps. Then transfer to the higher or decrease surfaces.
Determine 28. I laid out the fabric in 8 inch extensive strips. This makes masking extra easy. As with the horizontal stabs, you iron the masking on the naked balsa for a lot of the floor. You continue to have the overlaps across the edges. Be sure you have the masking straight throughout the wing and never cock-eyed.

Determine 29. With one other 8 inch strip, add it on high of the earlier strip however with a 1/4 inch overlap. At all times transfer from aft to ahead with the masking. Proceed to iron the masking to the balsa as you go. Begin with ironing the overlap seam ensuring you might be straight throughout the wing after which iron the fabric to balsa.
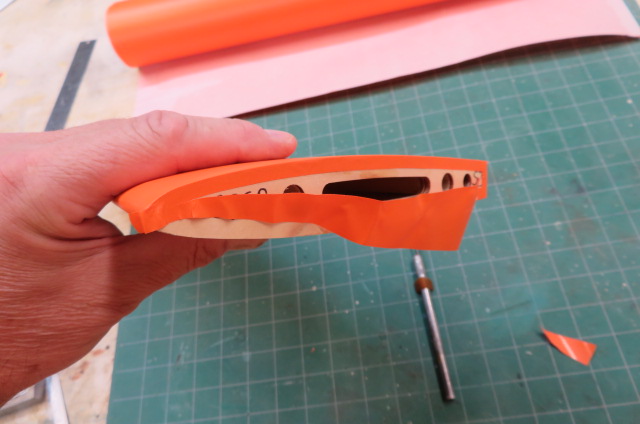
Determine 30. With the final 8 inch strip, cowl the ahead a part of the wing with the identical overlap as earlier than. Trim out the openings fastidiously and depart some extra masking for use as proven within the picture beneath.
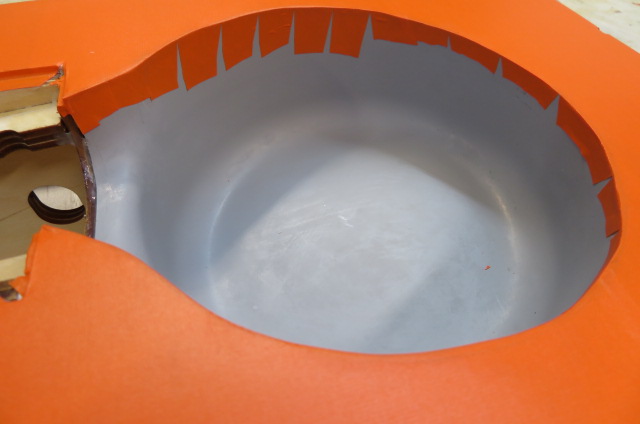
Determine 31. Extra masking left across the openings to iron onto the wheel wells, on this case. You possibly can return and trim these extra evenly when you like, however they gained’t possible be seen later. Or paint the wheel wells inexperienced Zinc Chromate to mix all of it in as one coloration. However the essential factor is to make sure that the ends are glued down properly. You might also combine a little bit of Z-Poxy ending resin and paint it over the ends to essentially lock them down.
Determine 32. Trim the perimeters like earlier than. Then transfer to masking the alternative floor.
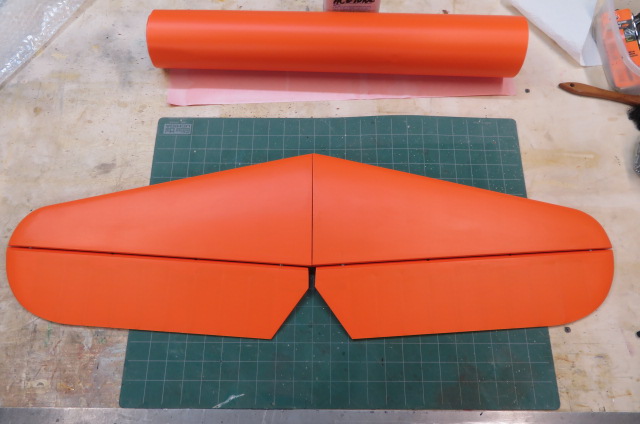
Determine 33. High aspect of the middle wing coated and finished. High aspect was finished precisely like the underside aspect in three sections utilized from aft to ahead.
The top of the tour!
That’s the nickel tour of my iron-on masking methods. There are all the time going to be totally different methods required when transferring to different elements of your mannequin, particularly the fuselage. The fuselage is one space that you just DO NOT need to trim off masking round sure areas over balsa utilizing a #11 blade! Reducing into balsa on sure fuselage elements can result in structural failures. So, plan forward along with your coverings over delicate spots to complete with a straight lower (made on the work desk) and finish with simply ironing it on with none trimming.
Maybe a very powerful function of my masking methodology is all the time utilizing an overlap (the place attainable and sensible) to maintain the items from pulling away from one another when the mannequin is within the warmth of the Solar. This may be with a easy 1/4 inch overlap of two sections of masking or by including a separate overlap like I did on the main edges. Both methodology works properly.
When utilizing different coverings similar to MonoKote, they have an inclination to require barely hotter iron settings, particularly going round curved surfaces. Modify your warmth settings till you get one which works, however attempt to hold from utilizing extra warmth than is definitely required.
Take your time. No should be in a rush. This materials is pretty costly, so think-through every panel’s masking utterly – measure twice and lower as soon as. Additionally, needless to say craftsmanship is essential; NO, it’s EVERYTHING!
TEXT & PHOTOS BY LANE CRABTREE