
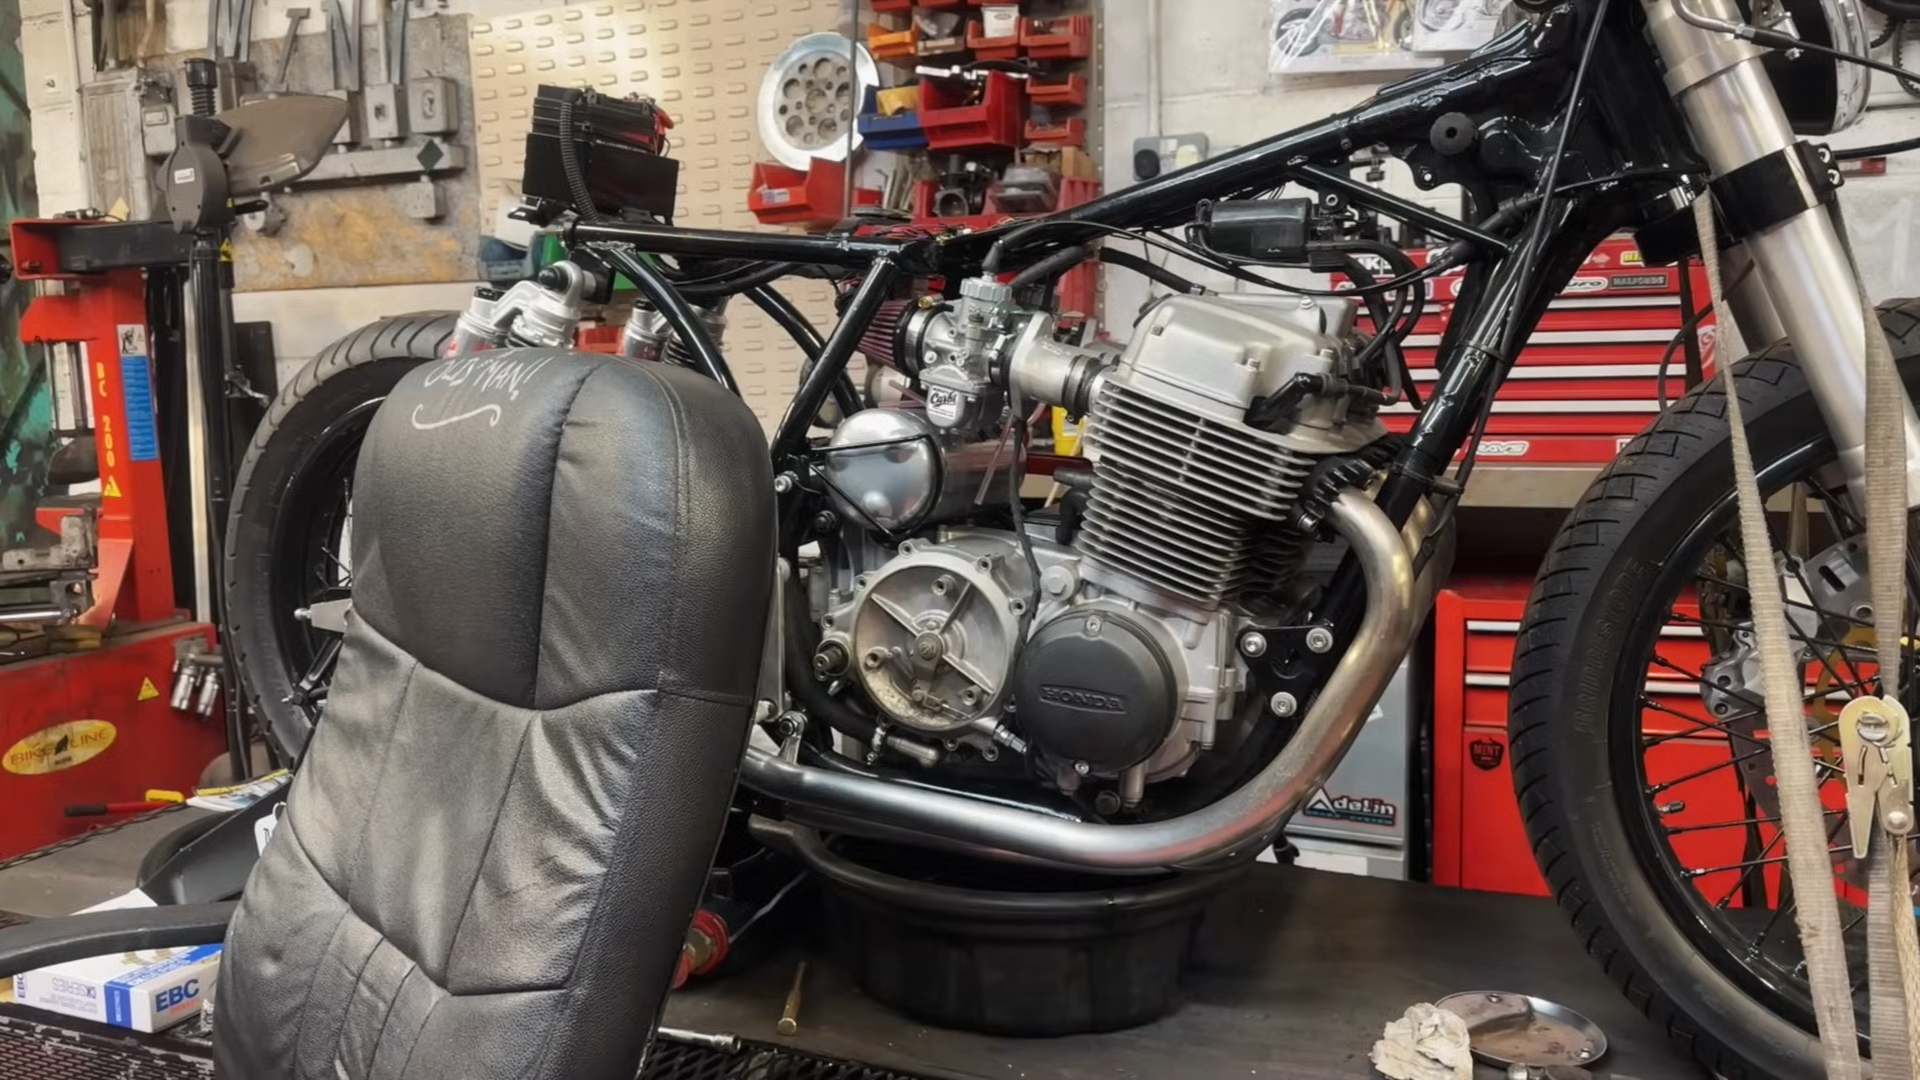
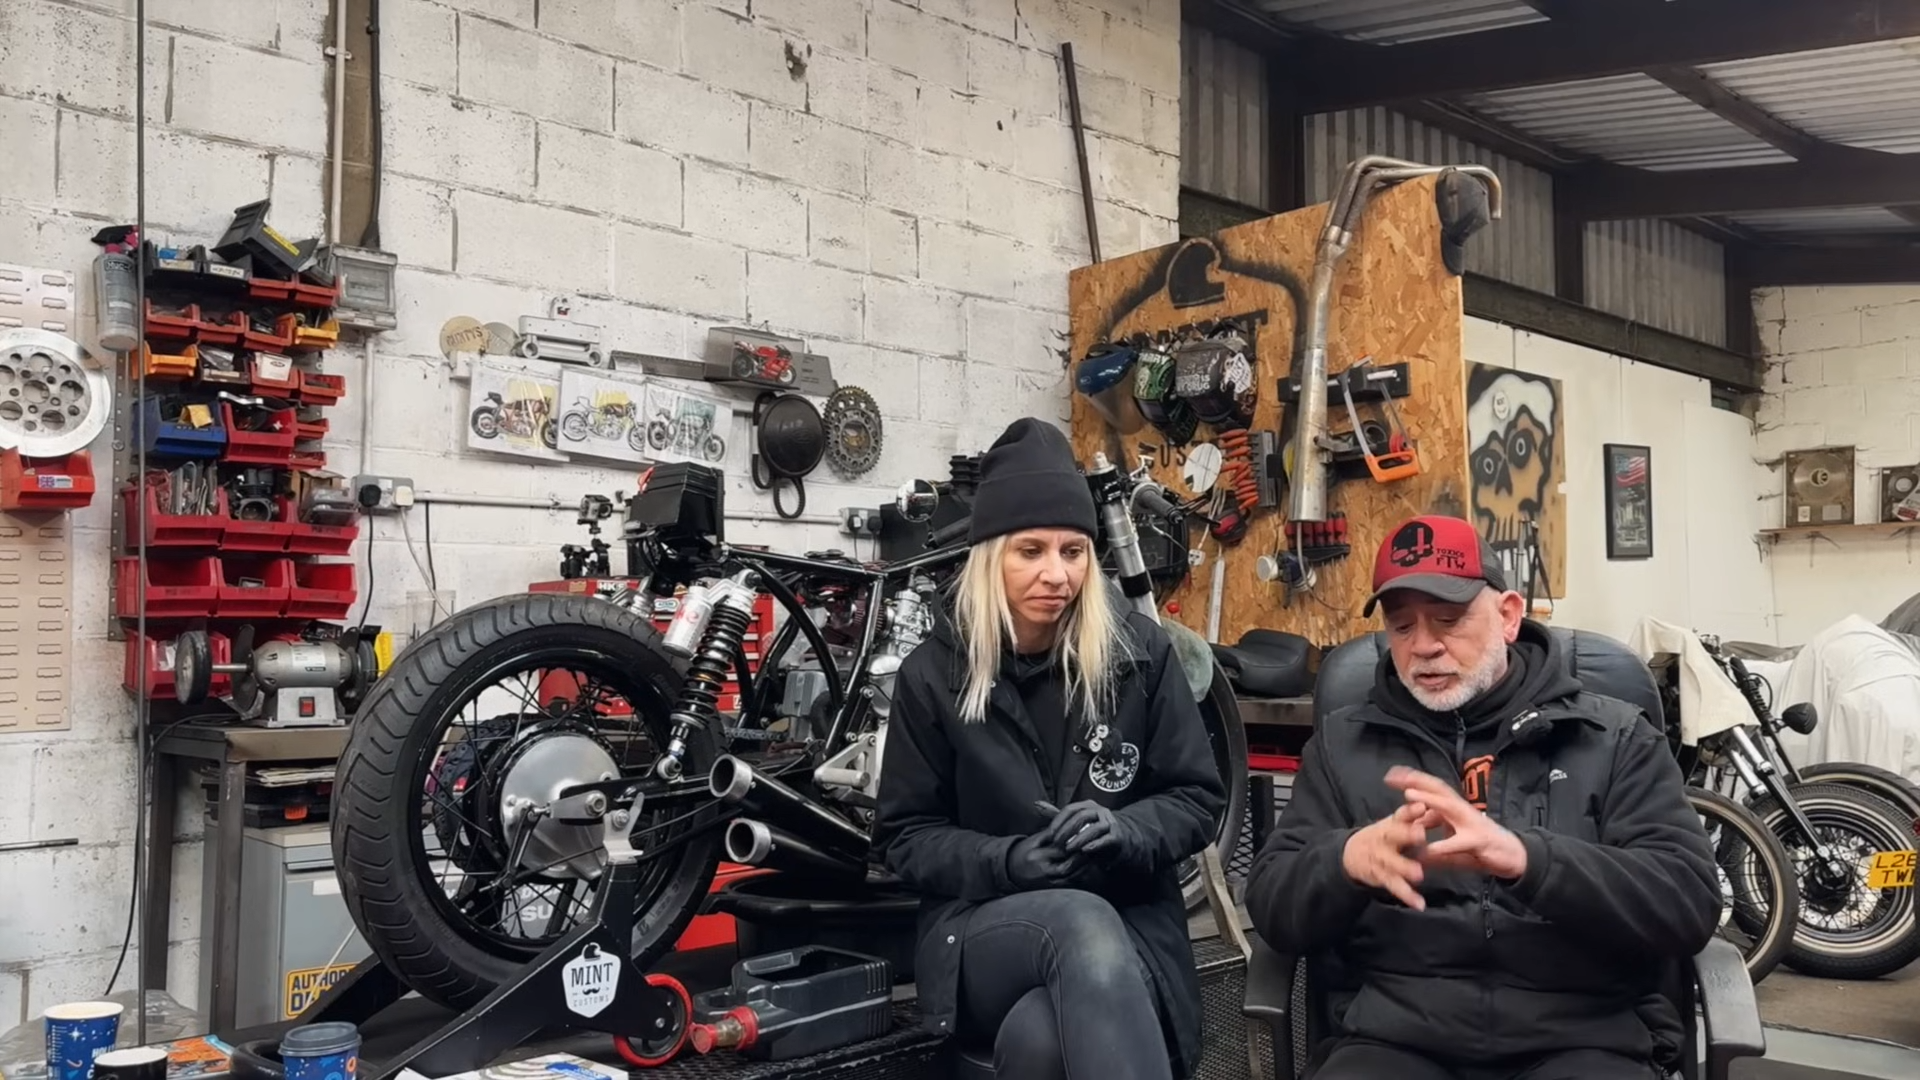
Working in a chilly British workshop, the workforce prepares to switch the bike clutch and deal with a small gas tank leak. They’ve already soaked the brand new clutch plates in clear oil and gathered instruments for the job. Regardless of the winter chill, they plan to finish the clutch set up, examine the tank for leaks, and run a brief street check if situations enable.
As they work, they take time to clarify how the clutch system capabilities and learn how to examine for attainable points with gears or cables. The method consists of cleansing the metallic plates fastidiously, preserving them organized, and making certain correct reassembly. Their focus stays on doing the job accurately and sharing helpful restore suggestions that assist others perceive every step.
Key Takeaways
- The clutch substitute requires preparation and cautious dealing with of every half.
- Diagnosing gear and clutch points helps forestall pointless replacements.
- Consideration to element and good upkeep habits result in safer, smoother rides.
Venture Overview and Aims
The workforce focuses on repairing and testing a bike clutch system whereas addressing a minor gas tank problem. The work takes place throughout winter within the UK, so chilly situations affect how lengthy sure elements, just like the tank, should dry.
Principal duties embody:
- Making ready and soaking the clutch plates in clear oil for about ten minutes earlier than set up.
- Inspecting and cleansing every plate to take away rust with out bending or damaging them.
- Fixing a small pinhole leak within the gas tank brought on by earlier welding.
The target is to put in the brand new clutch, verify clean engagement and launch between plates, and make sure the bike drives accurately. The workforce additionally plans to overview how the clutch mechanism works and check the completed setup on the street as soon as climate permits.
| Part | Function | Notes |
|---|---|---|
| Clutch plates | Switch energy from engine to transmission | Should keep clear and freed from rust |
| Springs | Apply stress to maintain plates engaged | Launch when clutch lever is pulled |
| Gas tank | Retailer and feed gas to engine | Wants inspection for leaks earlier than testing |
Security steps resembling thread-locking bolts, checking tire stress, and preserving elements lubricated type a part of the usual process. The work goals to have the bike prepared for a check experience and ensure all programs function as anticipated.
Clutch Substitute Course of
Setup and Wanted Instruments
They start by ensuring the workspace is obvious and the bike is secure. Primary instruments resembling Allen keys, a socket set, tissue, and a wire wheel for cleansing are prepared on the bench. They examine for leaks across the gas tank and purge any leftover petrol to maintain the world protected.
A fast desk helps observe the supplies:
| Merchandise | Function |
|---|---|
| Clear engine oil | Soak new clutch plates |
| Wire wheel | Take away rust from metallic plates |
| Allen keys & sockets | Take away and refit clutch cowl |
| Tissue or rags | Clear elements and extra oil |
Taking Out the Present Clutch
They fastidiously take away the clutch cowl, preserving every bolt and washer so as. Every clutch plate comes out one after the other, cleaned evenly to keep away from bending or damaging the floor. They describe cleansing as “a little bit of a ache” however stress it’s needed for a clean reassembly.
The speaker explains that the clutch pack acts like a mixture of brake pads and discs. Springs maintain the plates collectively to switch energy, and urgent the clutch lever separates them, reducing the drive to the output shaft.
Key reminders:
- Hold elements so as.
- Clear gently with minimal stress.
- Don’t lose any spring or washer.
Soaking and Becoming the New Clutch
Earlier than set up, the brand new clutch plates soak in clear engine oil for about ten minutes. As soon as prepared, they set up the plates within the authentic order, checking that every plate seats correctly. The bolts are tightened evenly to unfold the load.
They double-check alignment marks and tighten bolts reverse one another to forestall pressure on the quilt. The clutch lever is examined after tightening to substantiate clean motion and equal spring rigidity.
Diagnosing Clutch and Gear Points
Recognizing Slippage and Arduous Motion
When the clutch slips or feels stiff, it usually indicators an issue with how the plates interact. A slipping clutch permits the engine to rev with out correct drive, whereas stiffness could make gear adjustments tough or delayed. Earlier than assuming the clutch is worn, riders also needs to examine for tight or misadjusted cables.
Fast checks:
- Take a look at lever free play.
- Pay attention for grinding when shifting.
- Word if the bike jerks or surges below load.
Measuring Clutch Pack Thickness
The clutch pack will need to have the suitable peak for clean operation. To examine it, take away the plates and measure the total stack with a caliper or micrometer. Examine the studying to the specification for that engine mannequin.
| Step | Motion | Function |
|---|---|---|
| 1 | Take away every plate so as | Hold reassembly correct |
| 2 | Measure clear, dry plates | Guarantee true studying |
| 3 | Examine to plain | Verify put on or usability |
If the measurement matches the requirement, the clutch is probably going nonetheless in good condition.
Discovering Hidden Gear Faults
Typically the clutch works high-quality, and the trigger lies deeper within the gearbox. Worn gears, bent shift forks, or rust on the plates can all have an effect on efficiency. Cleansing every plate gently with a wire wheel removes rust with out bending the metallic.
Attainable causes of drugs points:
- Low lubrication resulting in friction.
- Improper meeting inflicting misalignment.
- Hidden corrosion locking plates collectively.
Checking these areas helps establish mechanical faults earlier than changing elements that also perform effectively.
Understanding How a Clutch Works
Clutch and Brake Setup
A clutch works very similar to a brake system, however as a substitute of stopping movement, it helps management when energy circulates from the engine to the wheels. Contained in the clutch are a number of plates stacked collectively, referred to as a clutch pack. A few of these plates hook up with the engine, whereas others hook up with the transmission.
When the rider pulls the clutch lever, the plates separate barely, which stops engine energy from reaching the wheel. Releasing the lever lets the plates press again collectively, permitting the ability to maneuver via once more. The design is straightforward however requires exact motion to work easily.
| Motion | What Occurs | End result |
|---|---|---|
| Clutch pulled in | Plates separate | Energy circulate stops |
| Clutch launched | Plates grip tightly | Energy transfers to the wheel |
Operate of Clutch Springs
Clutch springs apply stress that retains the plates pressed collectively throughout regular driving. When the lever is pulled, that stress releases simply sufficient for the plates to slide aside. The springs will need to have constant rigidity so the clutch can interact and disengage correctly.
A weak or worn spring could cause slipping, whereas one which’s too stiff could make the clutch onerous to tug. Every spring needs to be checked fastidiously, cleaned, and positioned again in its correct order when reinstalling the clutch.
How Energy Strikes By the System
When engaged, the clutch plates lock collectively, permitting the engine’s rotation to maneuver via the transmission to the rear wheel. The energy of that grip controls how easily energy strikes ahead.
If the clutch plates stick from rust or put on, the connection can fail, inflicting energy loss or jerky motion. Preserving the plates clear, clean, and evenly aligned helps guarantee reliable energy switch each time the clutch is used.
Cleansing and Sustaining Clutch Parts
Eradicating Floor Rust
Rust could cause clutch plates to stay collectively. To scrub them safely, use a wire wheel or high-quality abrasive pad with gentle stress. Keep away from urgent too onerous to forestall bending the plates. Each bit needs to be cleaned one after the other and positioned so as on a clear floor to maintain observe of their sequence.
| Software | Function | Word |
|---|---|---|
| Wire wheel | Mild rust removing | Use gently to forestall harm |
| Fabric and oil | Wipe residual mud | Retains surfaces clear and clean |
| Air line | Drying plates | Removes leftover moisture |
Lowering Plate Put on
To scale back put on, soak the clutch plates in clear oil for about 10 minutes earlier than becoming them. This helps forestall dry friction throughout startup. Keep away from utilizing soiled or outdated oil, since contaminants can scratch or glaze the surfaces. Deal with every plate fastidiously and by no means power them aside when cleansing.
Suggestions:
- All the time examine the plate surfaces for uneven marks.
- Substitute any plate that appears warped or worn flat.
- Hold meeting areas freed from grit and metallic mud.
Preserving Plate Sequence Right
Sustaining the suitable order of clutch plates ensures correct perform. Stack and label every friction and metal plate as eliminated, cleansing them one after the other reasonably than unexpectedly. Mixing the order could cause slipping or uneven engagement.
Easy course of:
- Take away one plate at a time.
- Clear and oil it.
- Place it again so as on a clear material.
Taking time to arrange and deal with the elements correctly prevents efficiency points as soon as the clutch is reassembled.
Gas Tank Leak Troubleshooting
Discovering Small Leaks and Skinny Spots
He seen a lightweight gas leak close to the spot the place he sealed off the outdated gas sender. The weld had a small gap, too tiny to see at first. To seek out leaks like this, he used air stress and checked for bubbles, which confirmed the precise location of the pinhole. A fast stress check earlier than sealing might have caught it sooner.
| Widespread Leak Indicators | Tips on how to Test |
|---|---|
| Gas odor or damp space | Wipe clear, observe after a couple of minutes |
| Seen rust or stain | Calmly sand and examine the floor |
| Sound of air escaping when testing | Recheck welds and sealing factors |
Emptying the Tank and Staying Secure
He spent practically two weeks blowing air via the tank to take away leftover gas. By no means weld or grind till all vapors are gone. Even a small quantity of gasoline fumes can ignite. He used an airline to dry the tank fully and labored in an area with good airflow.
Security guidelines:
- Drain all gas and depart the cap open for air flow.
- Hold fireplace and sparks far-off.
- Put on gloves and eye safety.
- Work open air or in a clear, well-ventilated space.
Fixing and Checking the Seal
After the tank was dry, he rewelded the pinhole and checked his work once more with low air stress. As soon as no bubbles appeared and no odor of gas remained, the restore was full. He made positive the tank stayed clear and clean, avoiding harm or bending the skinny metallic throughout cleansing. Testing the tank twice gave him confidence the leak wouldn’t return.
Workshop Suggestions for Chilly Climate
Preserving Heat Throughout Duties
Chilly air strikes rapidly via the workspace, so staff ought to choose a spot out of the wind at any time when attainable. Standing to the aspect of a doorway or draft could make a transparent distinction. Sporting insulated gloves helps maintain palms versatile for element work. A small heater or heat drink close by may assist preserve focus.
Arranging Instruments and Parts
Preserving elements in clear order avoids confusion when reassembling gadgets like clutches or tanks. He recommends setting cleaned elements in a straight line or numbered order on a bench or desk. Utilizing small trays, packing containers, or labels helps keep away from mixing {hardware}. The purpose is to maintain every bit in keeping with its authentic place.
| Tip | Function |
|---|---|
| Label every bolt location | Prevents misplacement |
| Use trays or luggage | Retains small elements safe |
| Clear and type one half at a time | Reduces meeting errors |
Security Steps to Observe
Chilly situations could make metallic brittle and surfaces slick. Employees ought to tighten bolts evenly to unfold stress and forestall cracks. Testing for leaks or weak welds earlier than fueling avoids main hazards. Eye safety and gloves are essential, particularly when utilizing instruments like wire wheels to take away rust. Preserving consideration on protected dealing with protects each the mechanic and the bike.
Important Motorbike Upkeep Tips
Correct Use of Thread Locking Compound
Threadlocker helps maintain bolts from loosening as a consequence of engine vibration. Riders ought to apply a small, even quantity on threads earlier than tightening bolts. An excessive amount of product could cause issue throughout removing, so utilizing solely what is required offers the very best outcomes.
Tip: Tighten bolts in reverse or crisscross patterns to unfold stress evenly and forestall warping.
Checking Tire Air Ranges
Tires lose stress naturally over time, particularly in chilly climate. Checking stress with a dependable gauge earlier than every experience helps preserve management and even tire put on.
| Tire Kind | Advisable Test Frequency |
|---|---|
| Entrance Tire | As soon as per week |
| Rear Tire | As soon as per week |
Hold pressures throughout the producer’s vary listed on the bike or within the guide.
Watching Brake Pad Situation
Brake pads should meet a minimal thickness to work safely. Riders ought to examine each pads often for clean put on and clear any mud utilizing a tender brush. Uneven put on usually means the calipers want service or cleansing.
Warning: By no means experience as soon as the pad materials reaches the metallic backing plate.
Adjusting Drive Chain Stress
The chain ought to have a small quantity of slack—too tight causes put on, whereas too free reduces management. Alter it evenly on each side utilizing the axle blocks and alignment marks.
Steps:
- Test slack midway alongside the underside chain run.
- Loosen the axle nut barely.
- Flip adjusters equally till the slack reaches the right vary.
- Recheck alignment earlier than tightening.
Worth of Correct Lubrication
Lubrication retains engine and transferring elements from binding or overheating. Chain oil, engine oil, and grease for pivots or cables needs to be clear and changed usually.
Key Lubrication Factors:
- Drive chain and sprockets
- Clutch and brake levers
- Cable ends and pivot bolts
Clear elements earlier than including new lubricant to forestall grit from carrying surfaces quicker.
Reassembly and Ultimate Changes
Right Order for Tightening Bolts
They adopted a cross-pattern when tightening the bolts to unfold the stress evenly throughout the clutch cowl. Every bolt was nipped gently, then tightened in small steps to keep away from overloading one aspect. He used long-owned instruments and checked every bolt twice to ensure none have been free.
Tip: Work in reverse pairs so the quilt seats flat and prevents leaks.
| Step | Motion | Function |
|---|---|---|
| 1 | Insert all bolts evenly | Align elements accurately |
| 2 | Tighten in a cross sample | Distribute stress evenly |
| 3 | Recheck every bolt | Guarantee safety |
Labeling and Preserving Monitor of Components
He stored all elements in separate containers and labeled the primary bolt’s place to keep away from confusion. Every cleaned plate was positioned so as, one after the other, so none have been combined up. Staying organized helped preserve the authentic sequence of plates and is derived throughout meeting.
By no means clear all plates without delay or the right order could also be misplaced.
Checks Earlier than Operating the Engine
Earlier than testing, they confirmed that every one bolts have been tight, the clutch stack sat flush, and no gas leaked from the tank. The tank had been purged of petrol for security, and instruments have been cleared from the work space. A fast inspection verified that the cables moved freely and the clutch plates separated easily when the lever was pulled.
As soon as each examine handed, the bike was prepared for the street check.
Closing Remarks and Upcoming Content material
The day wrapped up with the clutch cleaned, examined, and reassembled. The workforce checked every plate, stored the stacking order exact, and made positive no elements bent or wore erratically. A number of small leaks from the tank reminded them how very important cautious welding and stress testing are earlier than ultimate meeting.
Key Takeaways:
- All the time soak new clutch plates in clear oil earlier than becoming.
- Hold observe of the plate order throughout cleansing and reassembly.
- Look ahead to tank pinholes that may seem after welding or sealing.
They deliberate to cowl extra technical particulars subsequent time, together with learn how to measure clutch pack peak and strategies to identify put on on drive parts. Climate allowing, the following session would additionally embody a fast street check to examine efficiency after the restore.
| Upcoming Focus | Description |
|---|---|
| Clutch Pack Measurement | Step-by-step on checking right peak and put on vary |
| Troubleshooting Drive Points | Figuring out if slipping comes from clutch put on or cable rigidity |
| Street Take a look at | Brief experience to substantiate clean gear transitions |
With the instruments saved and the workspace cleared, they ready for the following stage of tuning and testing as soon as the situations allowed.